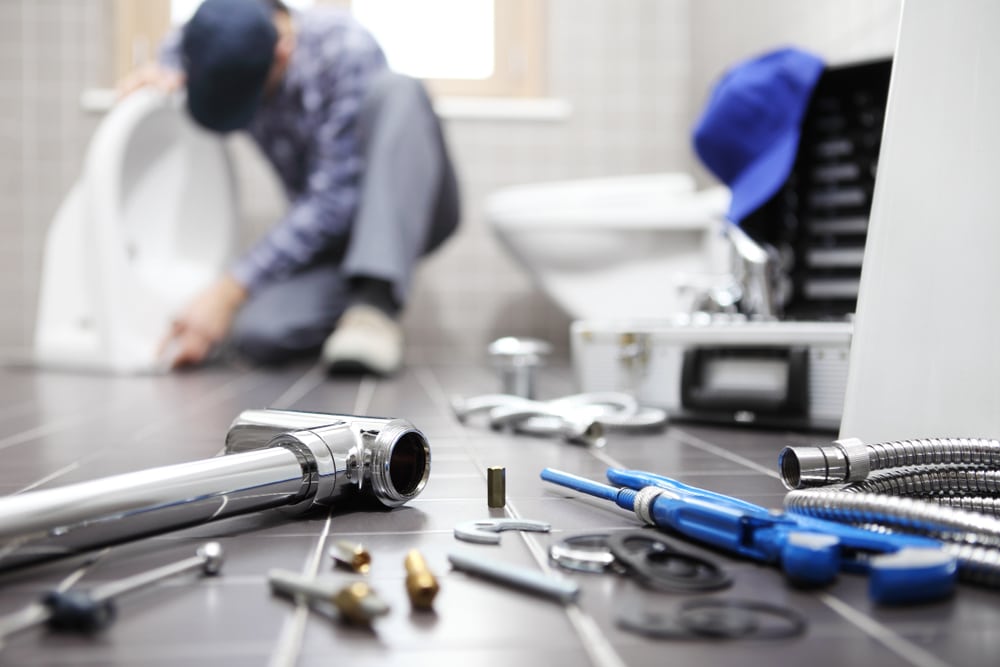
Nothing is more irritating than the drip, drip, drip of a leaky tap. Like the beating of The Tell-Tale Heart, it’s enough to drive you to the brink of insanity — not to mention it’s not that flush for the environment either. Stop with the waste and hardship and follow these simple tips for fixing it yourself.
Drip, drip, drip… Photo by Hannah Sheffield
1. First off, turn the water off at the mains.
This is going to temporarily stop the water supply to your home and prevent you from getting water everywhere.
2. Check with your local water authority.
There may be certain limitations on what you are allowed to do and not do in your home when it comes to your plumbing. A quick call to the local water authority to check if you’re able to go ahead should be enough to keep you in the clear. This is Sydney Water in our region and you can contact them through their website: http://www.sydneywater.com.au/
3. Cover the drain.
Not a necessity, but throwing a towel over your drain is a handy tip to ensure you don’t loose any of those all important small bits and bops.
4. Unscrew the button.
Typically this is only finger tight, and therefore you should be able to unscrew it with your hand. If its a little bit more stubborn a spanner should do the job. As it comes off there may be a spring inside, holding the mechanism together securely. Hold it all tight from the button down to the base and slide it away. This should reveal the body of the tap.
5. Removing the body of the tap.
To remove the body of the tap you can use a shifter or a ring spanner. As you loosen it you may find there’s still some water between the tap and the shower head. It’s no cause for concern, as you remove the body of the tap it’ll just spurt out and down the drain.
6. Change the washer.
Now you’ve removed the body of the tap you’re going to change the washer. The main tap washer just pulls straight out. The body washer, that sits immediately behind the main tap washer, should also simply unscrew. To get to the other end of the spindle you simply unscrew the body from the spindle by spinning the long, lean part of the tap body. This will expose the o-ring – a standard tap pressure seal. This should come off simply with a little bit of a nudge from a flat-head screwdriver. Once off you can put on the new one by pushing it along the body till it sits snugly back in the spindle. It’s at this stage that we’d tend to add a little bit of lubrication to the spindle before screwing it back into the body. Typically a “plumbers grease,” specially formulated for use with water, is used for your o-ring, you can grab this from a plumbing supply or hardware store.
7. Screw the spindle back into the body.
Do this till they’re both flush. Then slip on your large body washer, slip in your small tap washer and it’s back to go back into the wall.
8. Put it back into the wall.
Spin the tap body anti-clockwise a few times till you find the track. Then screw it as tight as you can with your hands and finish it off with a ring spanner. Remember the tap is now in the “on” position, so be sure to turn it back off before you go out and turn on your mains.
9. Turn on the water main.
Go turn you water main back on and there shouldn’t be a drip or drop in the joint.0


